We take more pictures than ever before in the digital era. Whether we’re taking pictures of friends, beautiful scenery, or just ordinary moments, our smartphones soon become full with priceless memories.
If you’ve ever received that dreaded “storage full” notification, you’re not alone. One of the simplest ways to organize, free up space, and protect your images is to move them on an SD card.
We’ll walk you through the process of moving photos to SD card on a variety of devices in this article.
Why You Should Move Photos to SD Card?

As your photo collection increases, your device’s performance might lag. Freeing up storage space not only improves the functionality of your phone or camera, but it also prevents you from losing the ideal photo due to a lack of space.
Moving photos to an SD card is a simple and cost-effective way to increase your storage capacity.
SD cards come in various sizes, allowing you to choose the one that fits your needs. It also helps to arrange your images.
Having them on an SD card allows them to be quickly moved to other devices, backed up, or organized into folders.
Furthermore, having your images stored outside can give a further sense of security in the event of a phone breakdown or unexpected events.
Things to Do Before Transferring Photos to SD Card
Make sure you have everything you need before beginning the process of moving photos to SD card.
This will make the procedure smoother and more effective. What you’ll need is as follows:
- SD Card: Ensure it has enough storage to hold all your photos. Check your phone’s storage settings to estimate file sizes. If not, then format the SD card before using it.
- Phone with SD Card Slot: Confirm your phone has an SD card slot. If not, think about other storage choices.
- Files App: Most Android phones have a file manager. If not, you can download one from Google Play.
- Backup Your Photos: Make a backup to a cloud storage platform such as Google Photos to prevent data loss during transfer.
- Formatted SD Card: Make sure your SD card is properly formatted for your phone.
- Charge Your Phone: Ensure your phone is fully charged or plugged in, as the process can take time.
Once you’ve prepared these, you’re ready to begin transferring your photos!
How to Move Photos to SD Card?
So, how do you transfer photos to SD card? Here below, you’ll get a step-by-step guide for moving photos to an SD card.
Are you ready? Let’s discuss how to move photos to SD card. The procedure may vary significantly depending on your device.
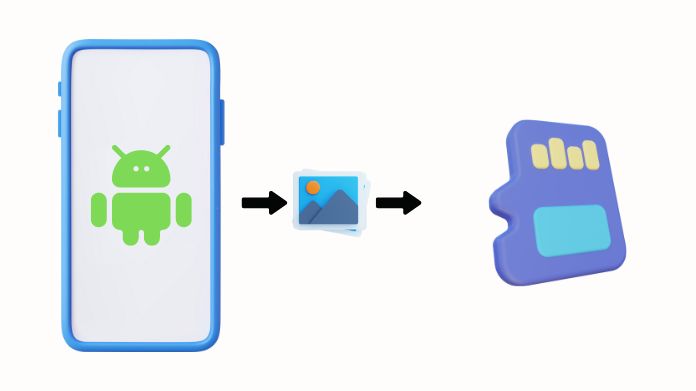
1. How to Move Photos to SD Cards on Android Devices
With Android being one of the most popular operating systems, moving photos to an SD card is generally quite simple.

I. Using the Built-In Files App
Most Android devices come with a built-in file manager or Files app. Here’s how you can use it:
- Open the Files app on your device.
- Navigate to Images or Photos.
- Select the pictures that you wish to relocate by long-pressing them.
- Click on the Move/Copy option.
- Select your SD card as the destination folder, then confirm the transfer.
II. Using Files by Google
If you prefer an alternative app, Files by Google offers an intuitive interface and great features for organizing your storage. Here’s how:
- Download and open Files by Google from the Play Store (if you don’t already have it installed).
- Open the app and go to the Browse section.
- Under Categories, tap on Images.
- Select the photos you want to transfer.
- Tap Move to SD card, select the location, and confirm.
III. Specific Instructions for Samsung Devices
Users of Samsung devices may also benefit from the My Files app, which provides a simple means of transferring images.
Here’s what to do:
- Open the My Files app.
- Go to Images or Gallery.
- Select the photos you wish to move.
- Tap on Move and choose the SD card as the destination.
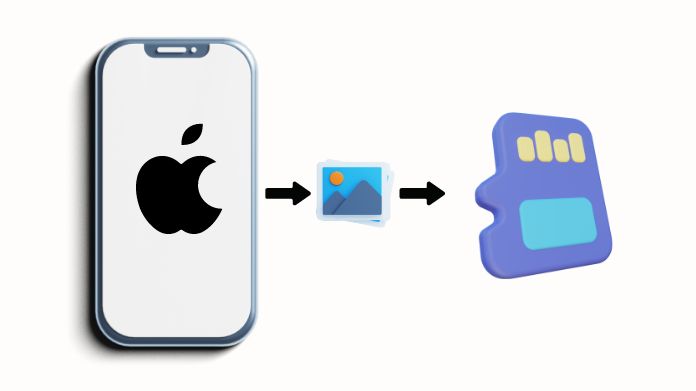
2. How to Move Photos to SD Card on iPhone
iPhones don’t have SD card slots, but you can still move your photos using an external SD card reader or third-party apps.

I. Using File Explorer and SD Card Reader
For iPhone users with an SD card reader, the process is very simple and easy:
- Attach the SD card reader to your iPhone.
- Open the Files app.
- Choose the photos you wish to transfer by navigating to Photos.
- Choose the Move option and select the SD card as the destination.
II. Using Third-Party Apps
A number of third-party tools, including Files Pro or SanDisk iXpand, make it easier to transfer photos to SD card. All you have to do is connect your SD card reader and move your photos by following the app’s instructions.
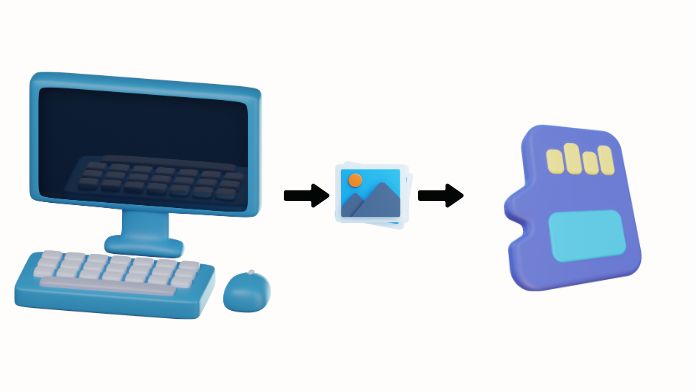
3. How to Move Photos to SD Cards on Windows

Windows users can easily transfer photos from their phones or computers to an SD card.
- Insert your SD card into your computer’s SD card slot or connect it via a reader.
- Open File Explorer and locate your photos.
- Select the photos you want to move, right-click, and choose Copy or Move.
- Navigate to your SD card in File Explorer and paste the files into the desired folder.
Additional Tips for Managing Photos on SD Card
Once you’ve successfully transferred your photos, here are a few extra tips to keep things organized:
- Organize into folders: Create folders on your SD card to categorize your photos on the basis of date, event, or subject. This makes it easy to locate certain photographs later.
- Regular Backups: Make sure to back up your SD card on a regular basis to an external hard drive or cloud service such as Google Drive or Dropbox. This protects your photographs even if the card is damaged.
- Check Your SD Card Health: Over time, SD cards can wear out. Periodically check the card for any signs of corruption or errors to avoid losing your precious memories.
Conclusion
One way around this is moving photos to the SD card, which not only frees up space on the smartphone for other apps and files but also keeps your memories organized.
The process is very easy, and it will take only a few minutes using an Android smartphone, an iPhone or even a Windows PC.
Why then wait? Start the transfer right now and make some space on your device.
