You have spent most of the day clicking some amazing photographs using your DSLR. But now, the storage on your iPhone is nearly full.
Transferring those images can be a challenge, can’t it? That is where an SD card adapter comes into play.
This device allows you to quickly and effortlessly transfer photographs, movies, and other stuff from an SD card to your iPhone. There are no spaces for storage or other uses; only an efficient, rapid solution.
This article will show you how to work with an iPhone and an SD card adapter. These are beginner and expert-friendly ways; you do not have to be techy at all.
This guide helps you to choose the suitable adapter with respect to your data and get the ease of a big ready with React component.
Ready to start? In this post, we are going to show you how to use iPhone with your SD Card Adapter.
What is an SD Card Adapter, and Why Would You Need One?
 A small device known as an SD card adapter can be used to attach a single SD card with another device, including iPhones.
It is a bridge for data, linking the SD card to your phone where stills, videos — and even documents! — can be transported.
It is an easy way for users who desire fast file transfer in bulk without using Wi-Fi, cloud storage or other apps.
So, why would you need an SD card adapter for your iPhone?
An SD card adapter for your iPhone is a must-have for several reasons:
- Quick File Transfers: Easily transfer photos, videos, and other files from your camera or SD card directly to your iPhone.
- Free Up Camera Space: Transfer files to your iPhone to save up space on your SD card for extended shots or excursions.
- On-the-Go Access: Access important files like documents or audio without needing a computer.
- Formatting an SD Card: While we want to format micro SD card, it requires an SD card to connect with any device, and if the device is an iPhone, then it requires an adapter.
- Backup Files: Quickly create backups on your iPhone when cloud storage isn’t an option.
- Free Up iPhone Storage: Transfer large files to your SD card to free up space on your phone.
An SD card adapter expands the functionality of your iPhone and simplifies file management.
How to Use SD Card Adapter on iPhone?
Let’s get started on using an SD card adapter with your iPhone now that you understand what one is and why it’s helpful.
Fear not—it’s more easier than it seems!
Step 1: Choosing the Right SD Card Adapter for Your iPhone
Not all SD card adapters are created equal. Choosing the right one would be based on which iPhone you have and what kind of a transfer you are going to do.
Let’s break it down.
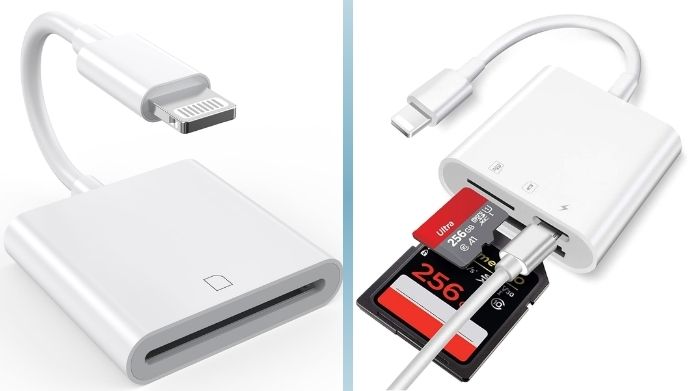
1. Apple’s Lightning to SD Card Camera Reader
If you prefer sticking with Apple’s official accessories, the Lightning to SD Card Camera Reader is your go-to.
It is constructed for the iPhone Lightning port only by Apple and is recognized by the Photos app.
The upper hand, in this case, is achieving reliability and the whole iOS compatibility spectrum, thus enabling smooth transfer.
2. Third-Party SD Card Adapters
There are various reputable third-party adapters available for individuals on a tight budget. Anker and UGREEN are two manufacturers that provide adapters that work well with iPhones, and they typically offer extras like dual microSD card slots.
These are ideal if you want something adaptable and affordable without losing quality.
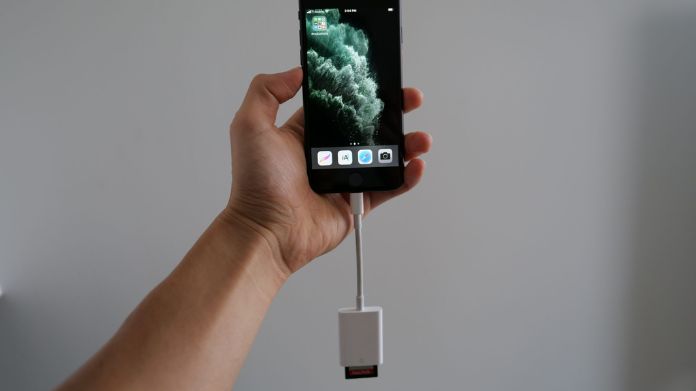
Step 2: Connecting Your SD Card to the iPhone
Once you’ve got your adapter, it’s time to connect it to your iPhone. Here’s how to do it:
- Plug the SD card adapter into your phone’s charging port.
- Insert the SD card into the adapter.
- A notification should pop up, indicating that your iPhone has detected the card.
That’s it! Your SD card is now connected, and you’re ready to access your files.
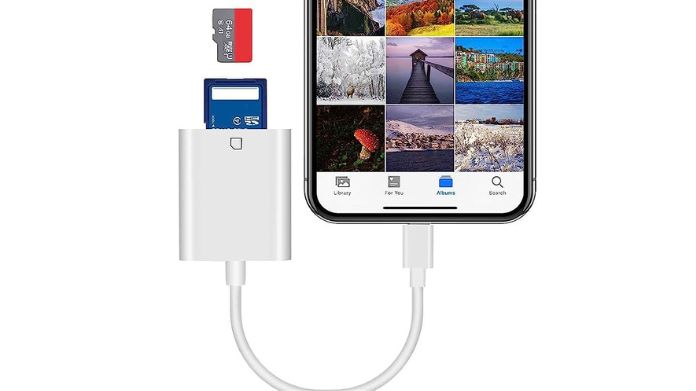
Step 3: Importing Photos and Videos from the SD Card
Importing your images and movies is the next step after attaching the adapter. Follow these steps:
- Open the Photos app on your iPhone.
- At the bottom of the screen, you’ll see an Import option.
- Choose whatever photographs or videos you wish to transfer.
- You can Import All or manually pick particular files to transfer.
Once you’ve selected your files, the transfer process begins, and in no time, your media will be on your iPhone, ready to edit, share, or store.
Step 4: Ejecting the SD Card Properly
To avoid data corruption, make sure to eject your SD card before removing it. Take these steps:
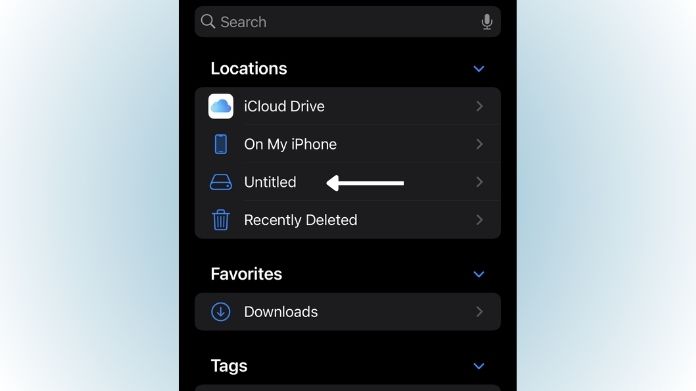
- Open the Files app.
- Locate your SD card under Locations.
- Tap the eject icon next to the card’s name.
After the card has been securely ejected, you can remove it from the adapter without fearing file loss or corruption.
Final Thoughts
Using an SD card adapter on your iPhone is an easy and efficient method to manage storage and transfer information.
Whether you’re a photographer searching for an easy way to import your work or just want to clear up space on your phone, following these steps makes the procedure simple.
With the correct adaptor and a few clicks, you may quickly access all of your data. Are you ready to give it a try?


